
SleepO2 Pro
Pulse Oximeter
- GETTING STARTED
- CONTACT US
- REVIEW
- BUY THIS PRODUCT
- OUR STORY
- SHOP
1. Introduction
1.1 Overview
The device is designed for person who has Sleep Apnea-Hypopnea Syndrome (SAHS), to track his/her overnight oxygen saturation levels (SpO2), pulse rate and nasal air flow continuously. Perfect tool to determine one’s SAHS level and monitor the effectiveness of a CPAP machine.It can also be applied for routine monitoring during sports
and exercise with its anti-movement interference design.
Up to 20 hours’ data can be recorded on the device and then uploaded to PC through USB cable. The powerful PC software allows you to review, manage and analyze the data, even generate a professional report for further sharing.
Warning: The device is for reference only, not for medical or diagnostic use.
1.2 Functions and Features
• LCD display screen
• Wrist design
• SpO2 and pulse rate (PR) value display
• Pulse sound and indicator bar
• Pulse and nose flow waveform display
• Alarms for lower power, finger out & limits exceeding can be set up
• Real-time clock
• Auto-power on/off
• Multiple cases can be recorded
• Continuous 20 hours data to record
• Upload data via USB cable to PC
• Powerful PC software for analysis
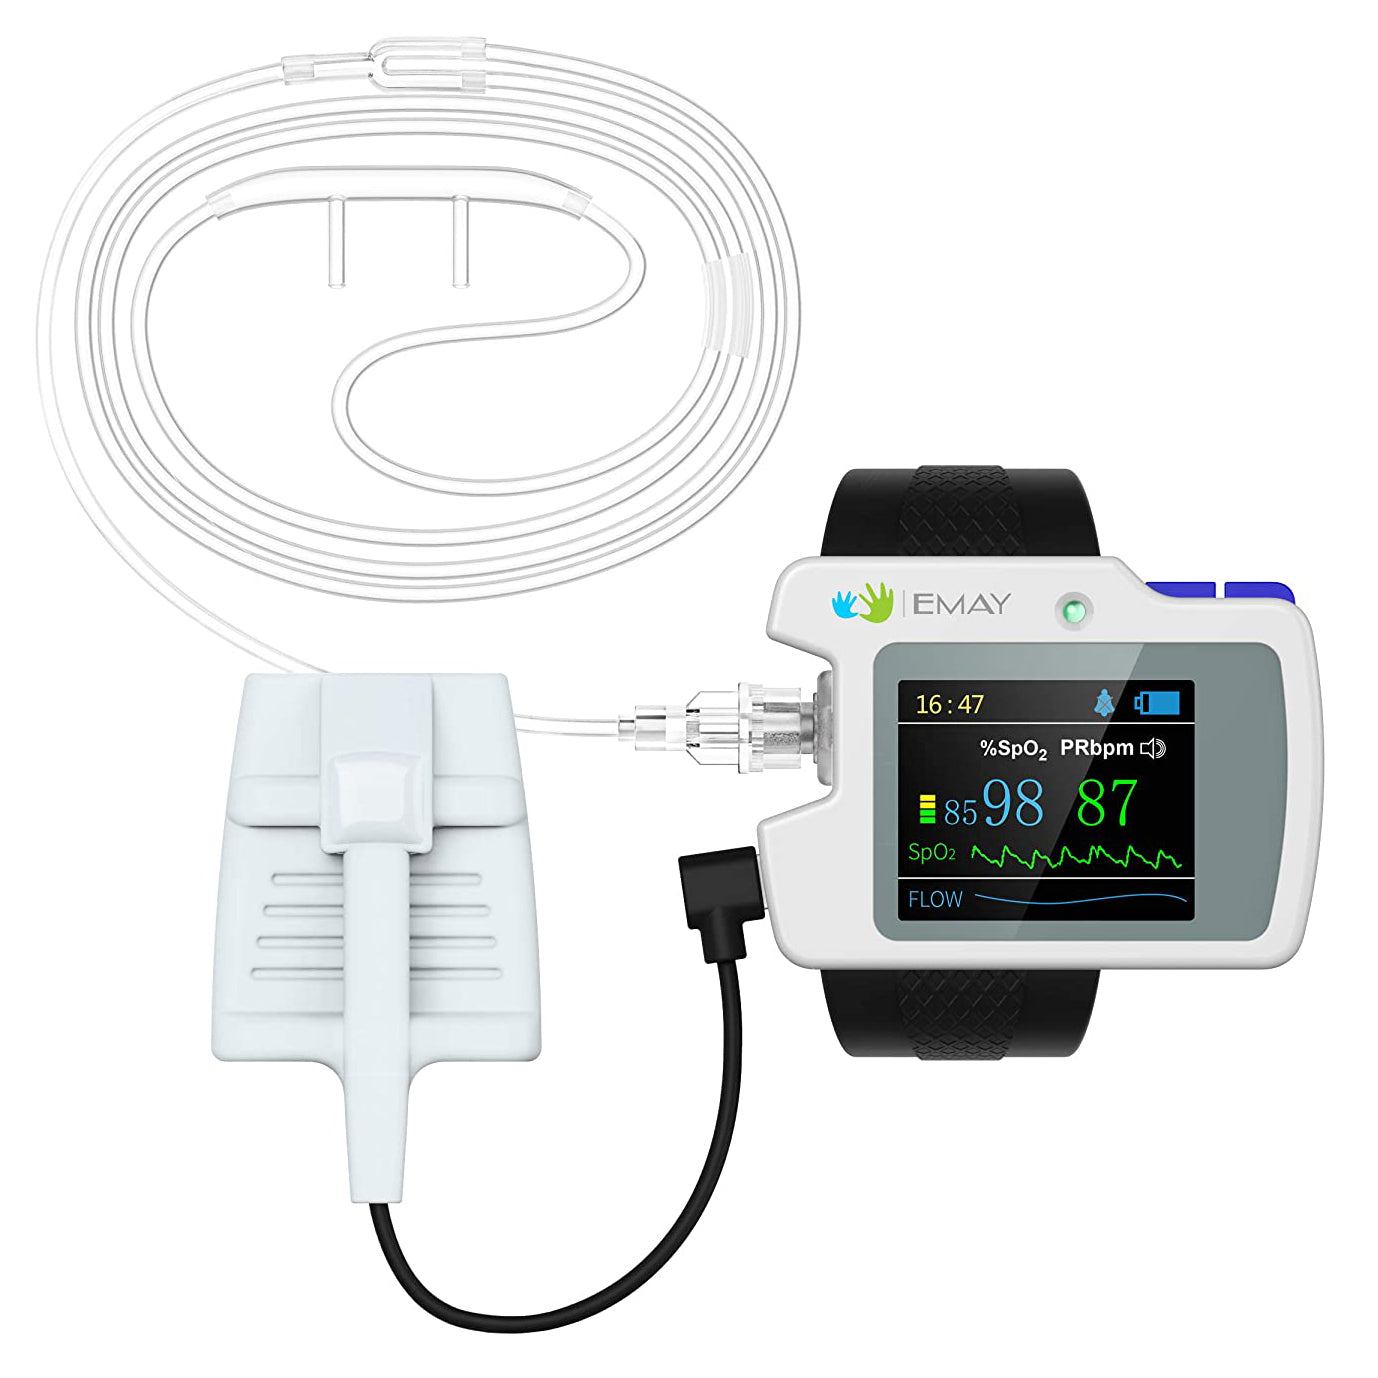
1.3 Package Contents
• Device * 1
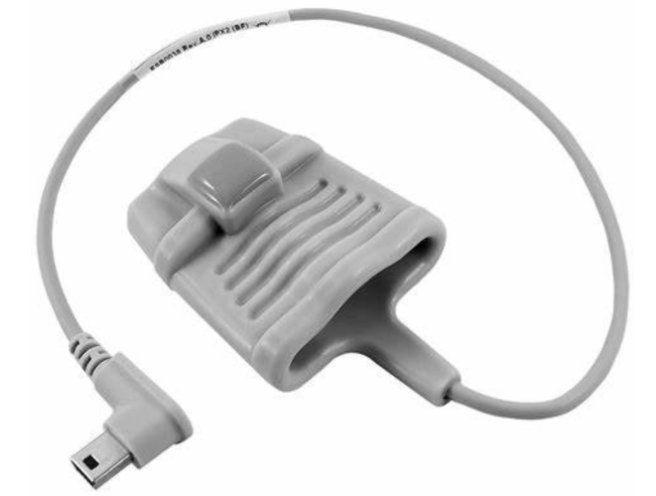
• Silicone SpO2 probe * 1
• Nasal cannula * 2
• User manual * 1
• USB cable * 1
• USB Wall Charger * 1
• Disposable non-woven adult/neonatal SpO2 probe * 2 (Optional)
2. Device Appearance and Display
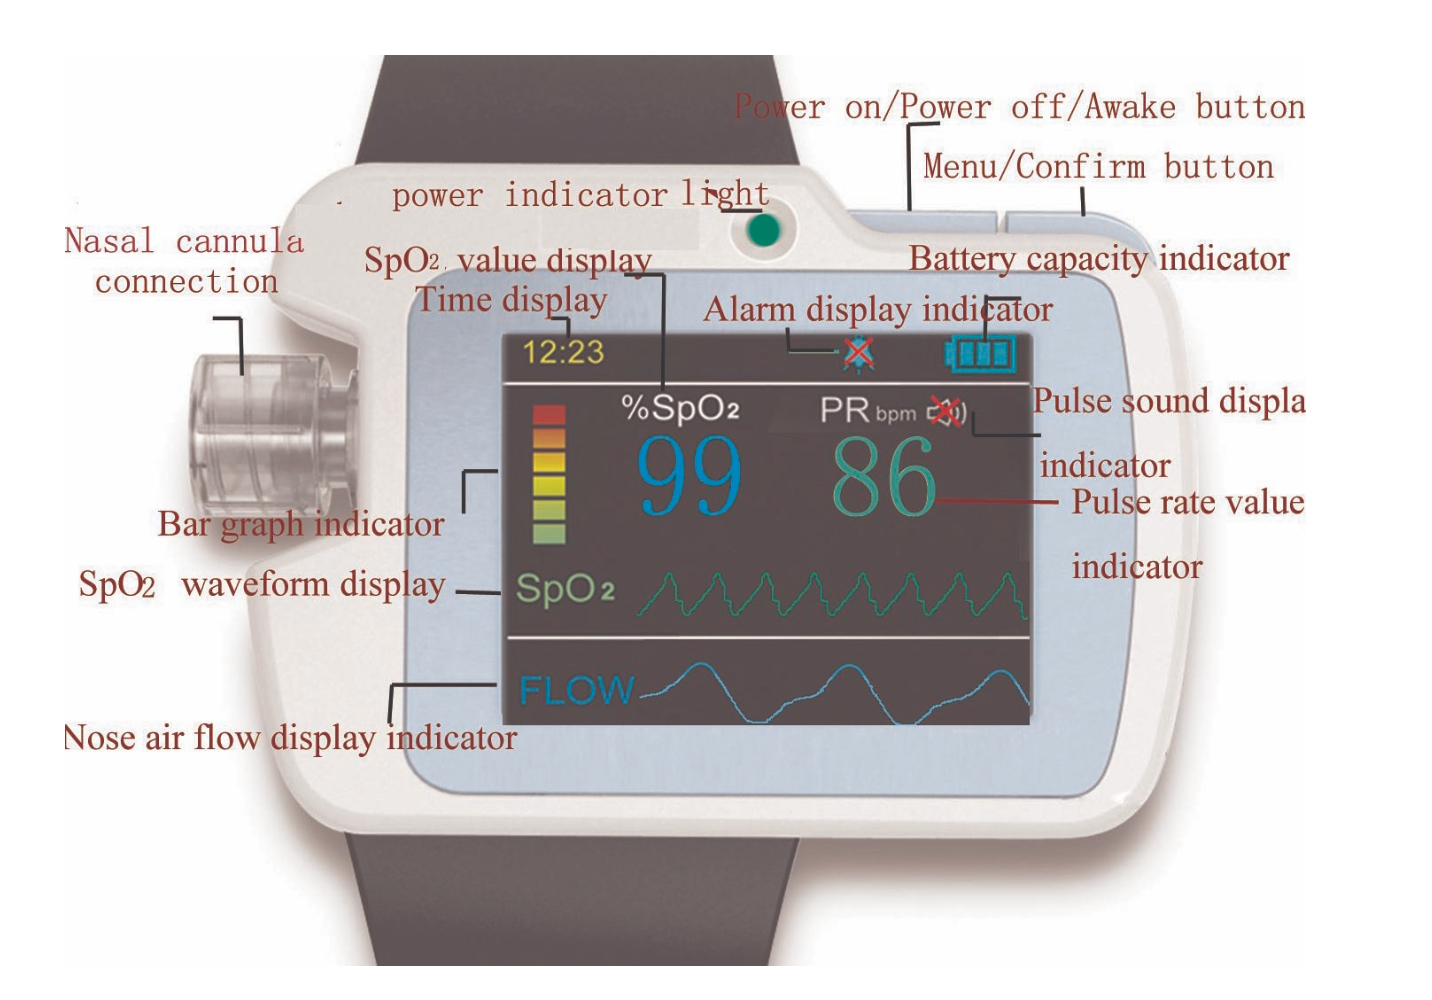
2.1 Appearance
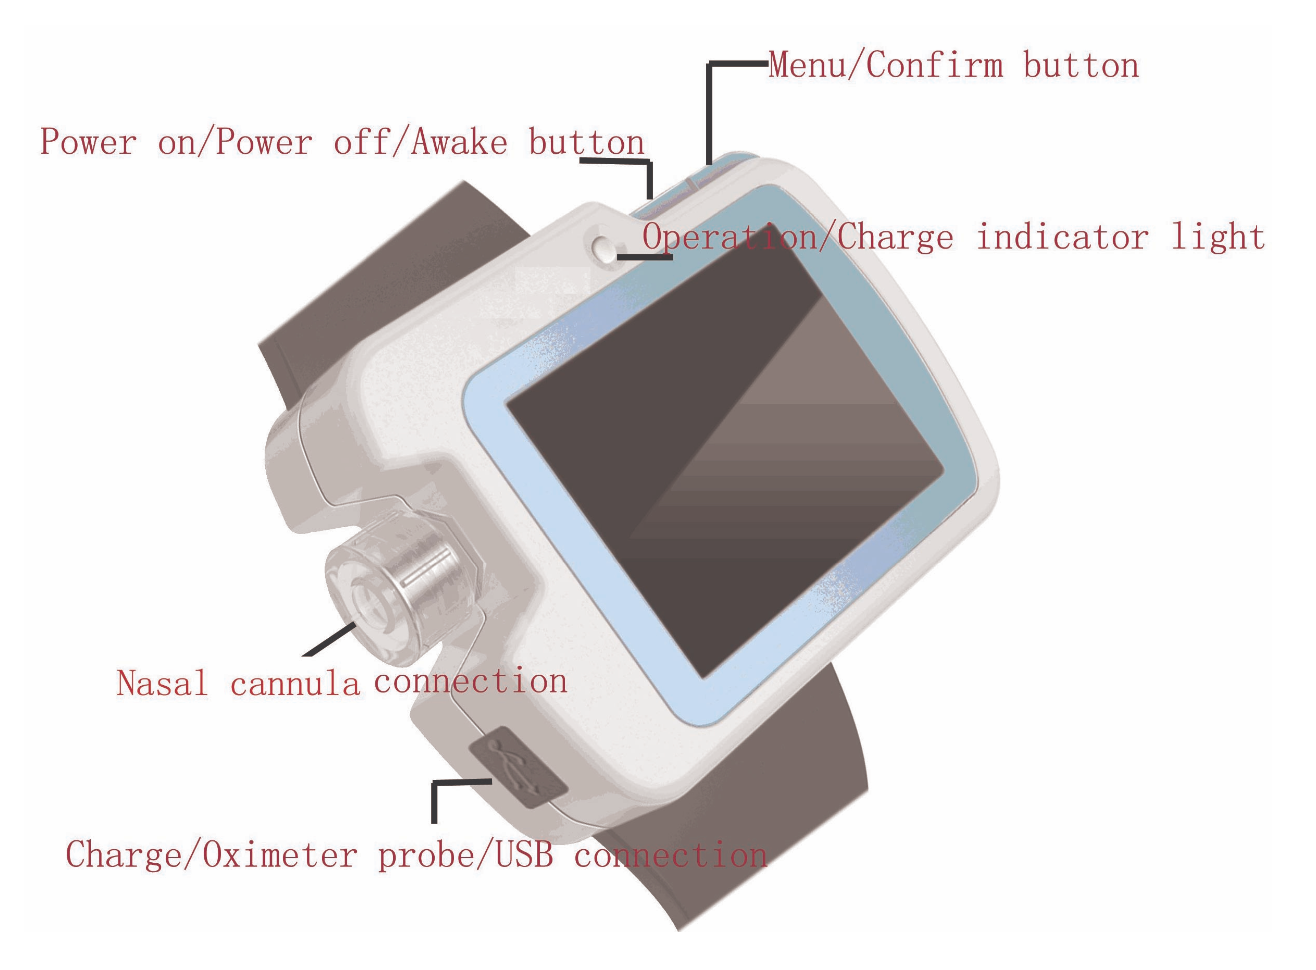
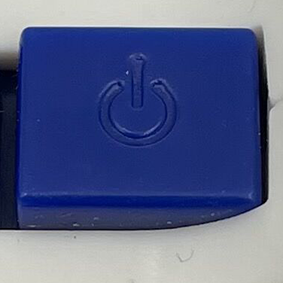
Power on/Power off/Awake screen button

Menu/Confirm button
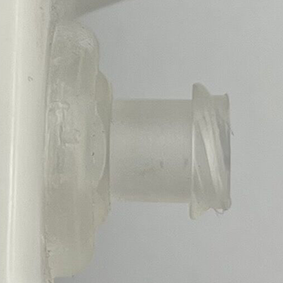
Nasal Cannula connector
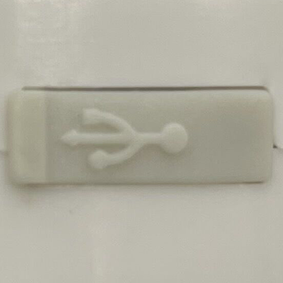
Charging/SpO2 probe/USB cable connector
2.2 Display
3. Device Button and Menu Operation
3.1 Power Button:
• Power on > Long press the button to turn on the device
• Power off > Long press the button to turn it off (when the device is not recording.)
• Awake > When the device is recording data, its screen will enter sleep mode to save power. Short press the button to awake the screen anytime.
3.2 Menu operation
Long press button “M” to enter the main menu interface:

| Callout | Function | lnstruction |
|---|---|---|
| 1 | Alarm | Alarm setup,long press "M" button to access alarm setup menu. |
| 2 | System set up | Long press "M" button to access system setup menu. |
| 3 | Schedule Power on | Time powering on setup, long press "M" button to access time powering on setup menu. |
| 4 | Record | Record setup, long press "M" button to access record selup menu. |
| 5 | DEMO | Long press "M" button to enter DEMO interface. |
| 6 | Clock | Clock setup, long press "M" button to access clock setup menu. |
| 7 | Exit | Exit to the monitoring interface |
Enter any of above submenu by long pressing “M”, then look through all the items under the submenu by short pressing, confirm the selected item by long pressing.
(Reminder: please set the date and time for the device by selecting “Clock” before proceeding foward)
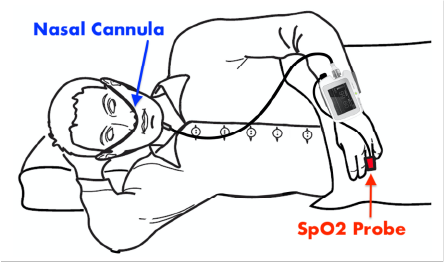
4. How to Apply the Nasal Cannula and SpO2 Probe
4.1 Apply the Nasal Cannula (Disposable):
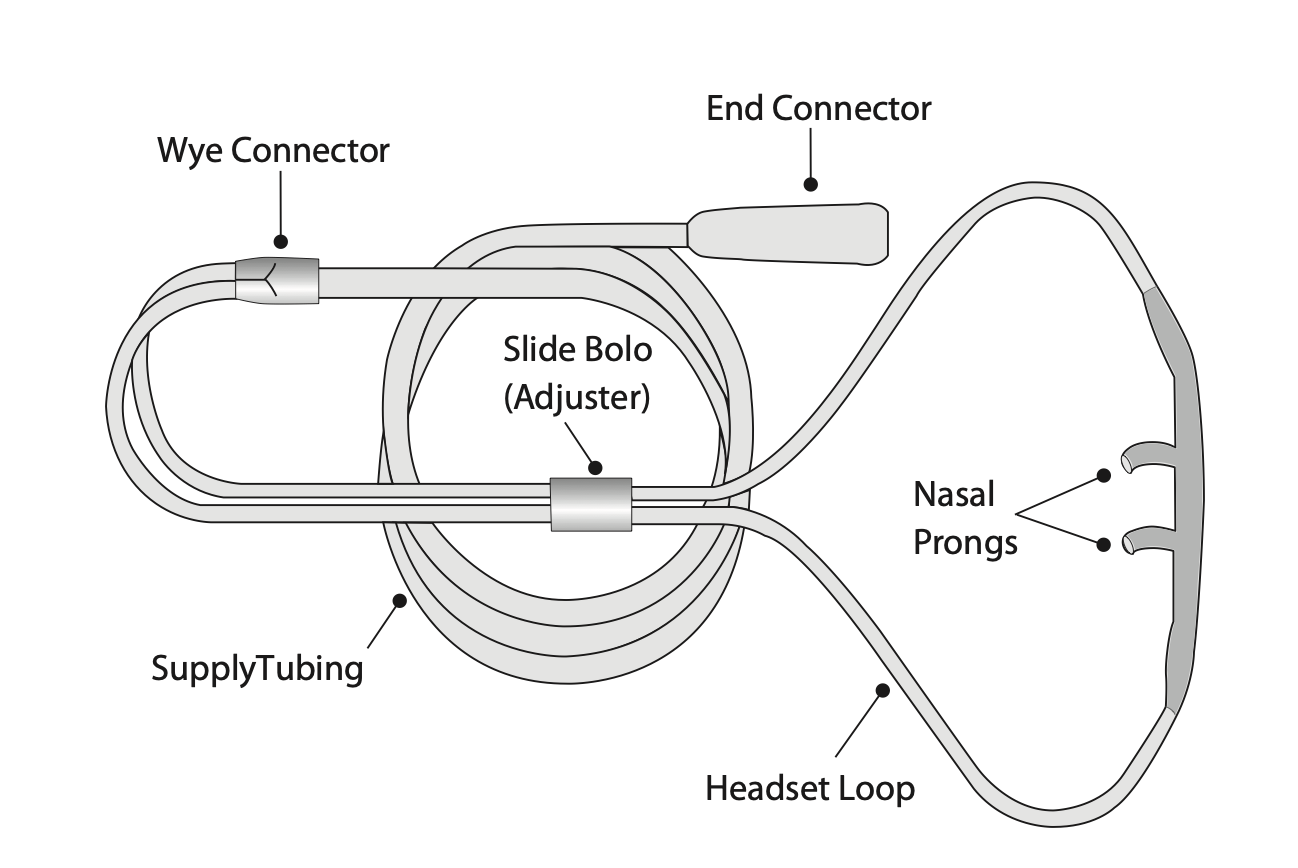
1) Remove the nasal cannula from package
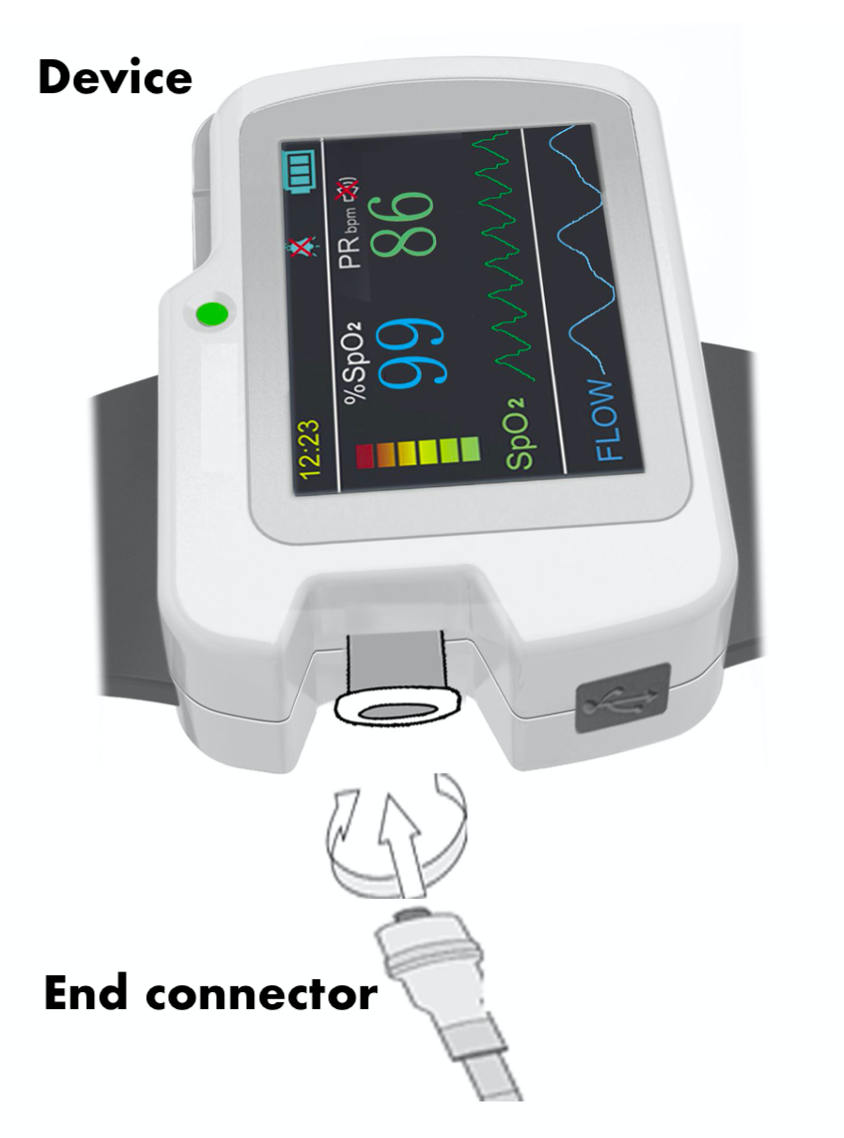
2) Attach the end connector of the cannula
to the device, make sure the connector is
screwed tightly onto the device
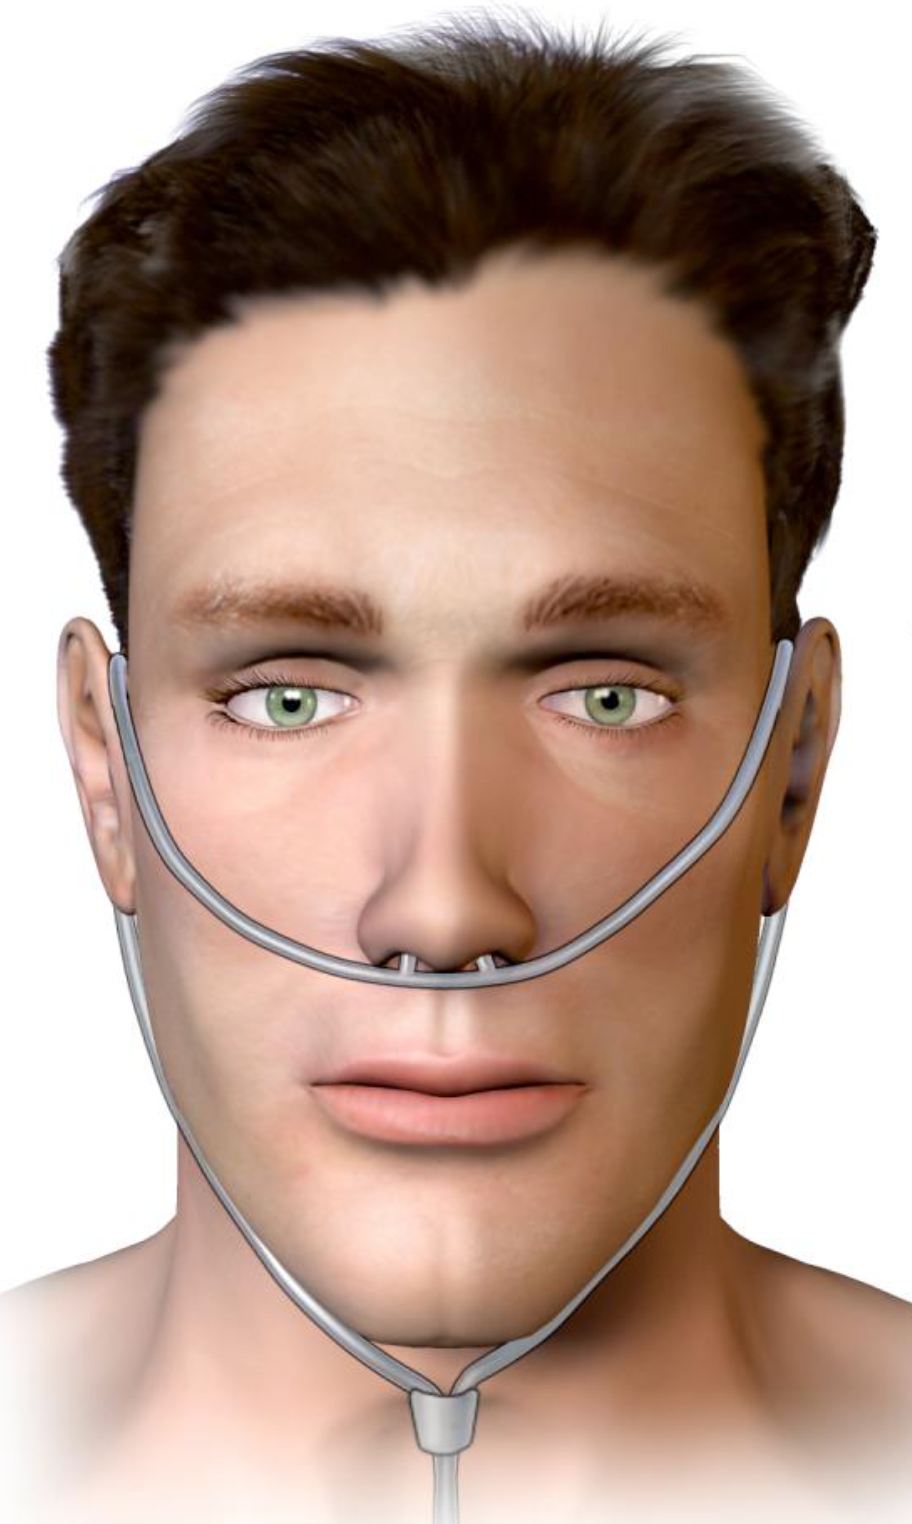
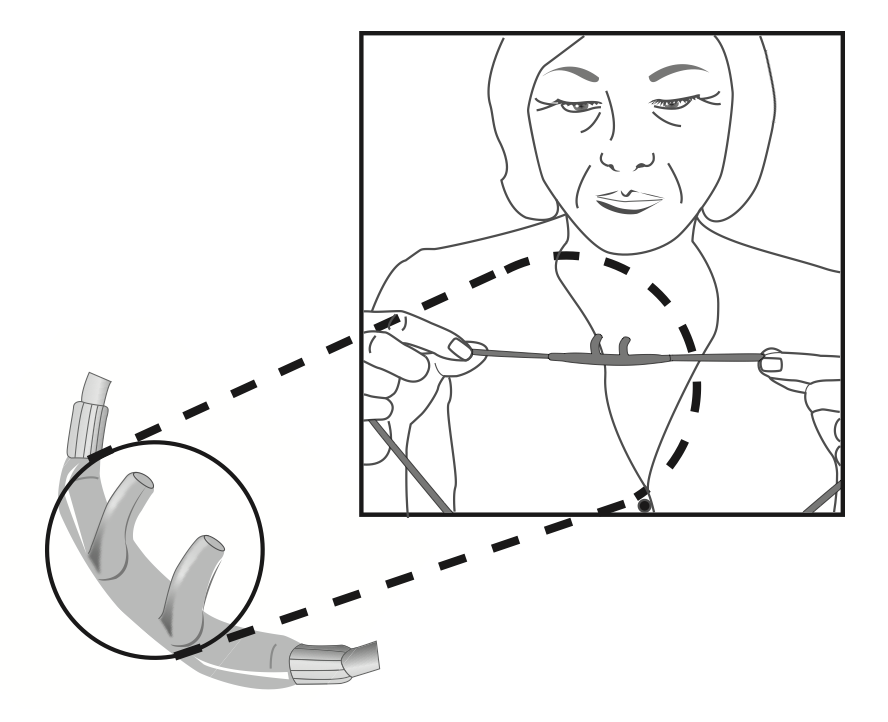
3) Position the nasal cannula with the nasal prongs facing upward
and curved toward your face
4)Insert the two nasal prongs into your nostrils. The prongs should sit comfortably in your nostrils.

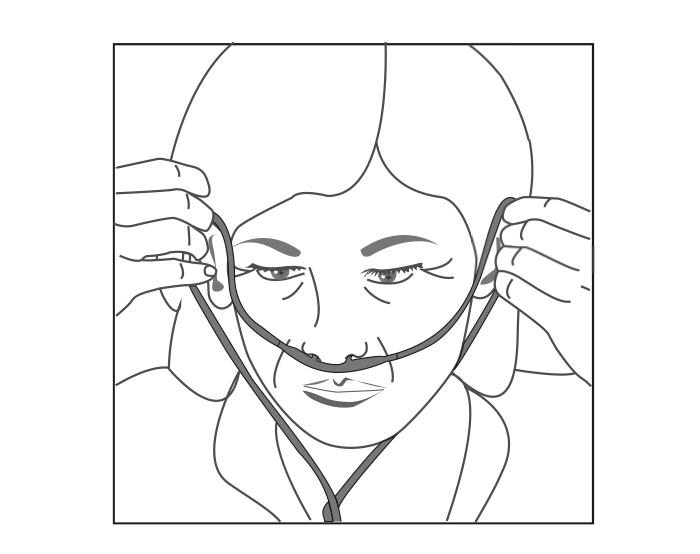
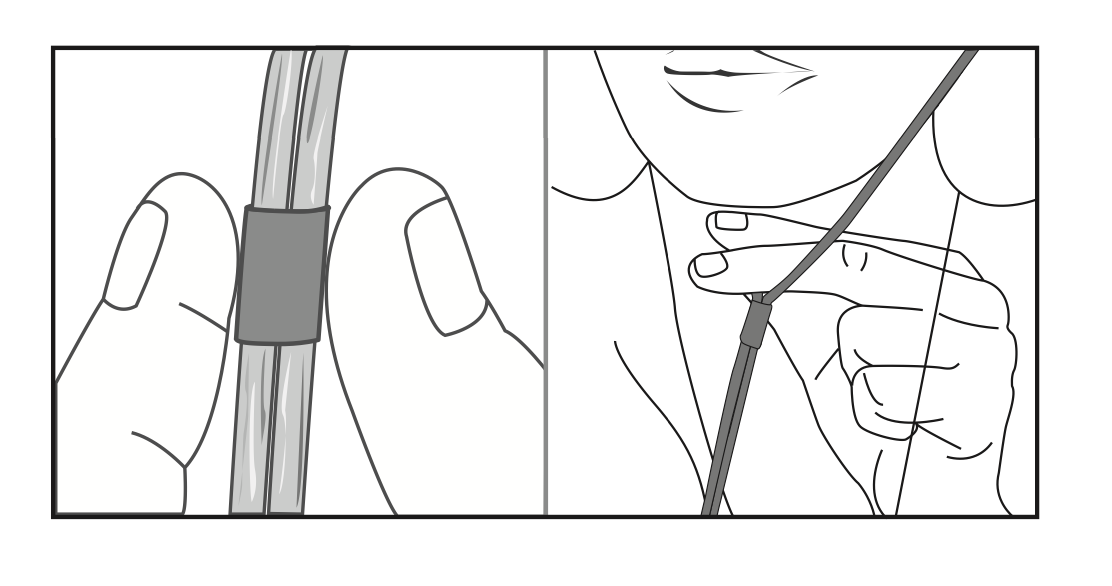
5) Wrap the headset loop up and over your ears.
6) Glide the slide bolo up under your chin, leave enough space to fit at least two fingers between the bolo and your chin.
7) After a few seconds, the airflow waveform will display on the screen of the device.
8) To keep the nasal tube in place better during the night, we suggest you wearing a light long sleeved top so your nasal tube can be worn underneath the top. In addition, you can also use adhesive plaster or medical tape to adhere the tube on your neck, wrist…etc.
Note: The nasal cannula is disposable, do not reuse it.
4.2 Apply the SpO2 Probe:
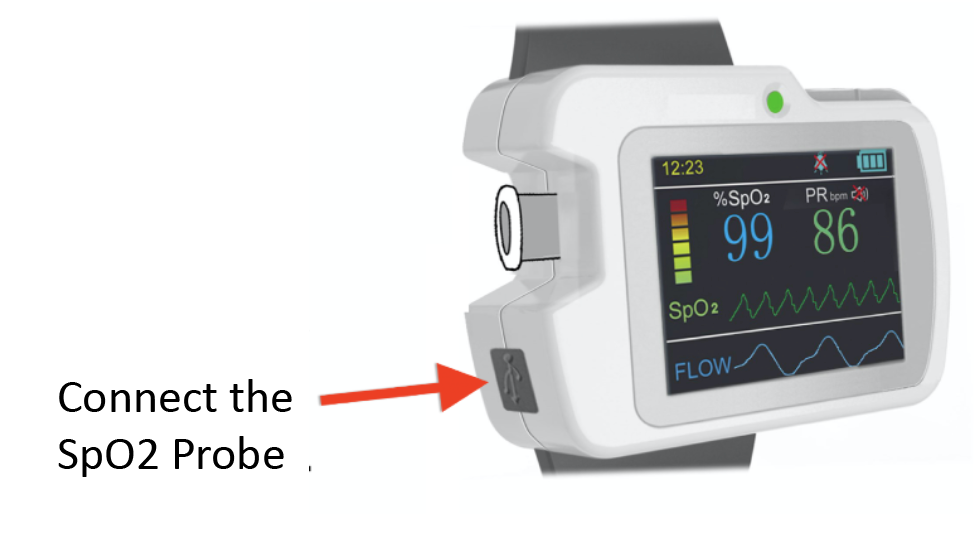
1) Plug the SpO2 probe onto the device
2) Put your finger into the probe
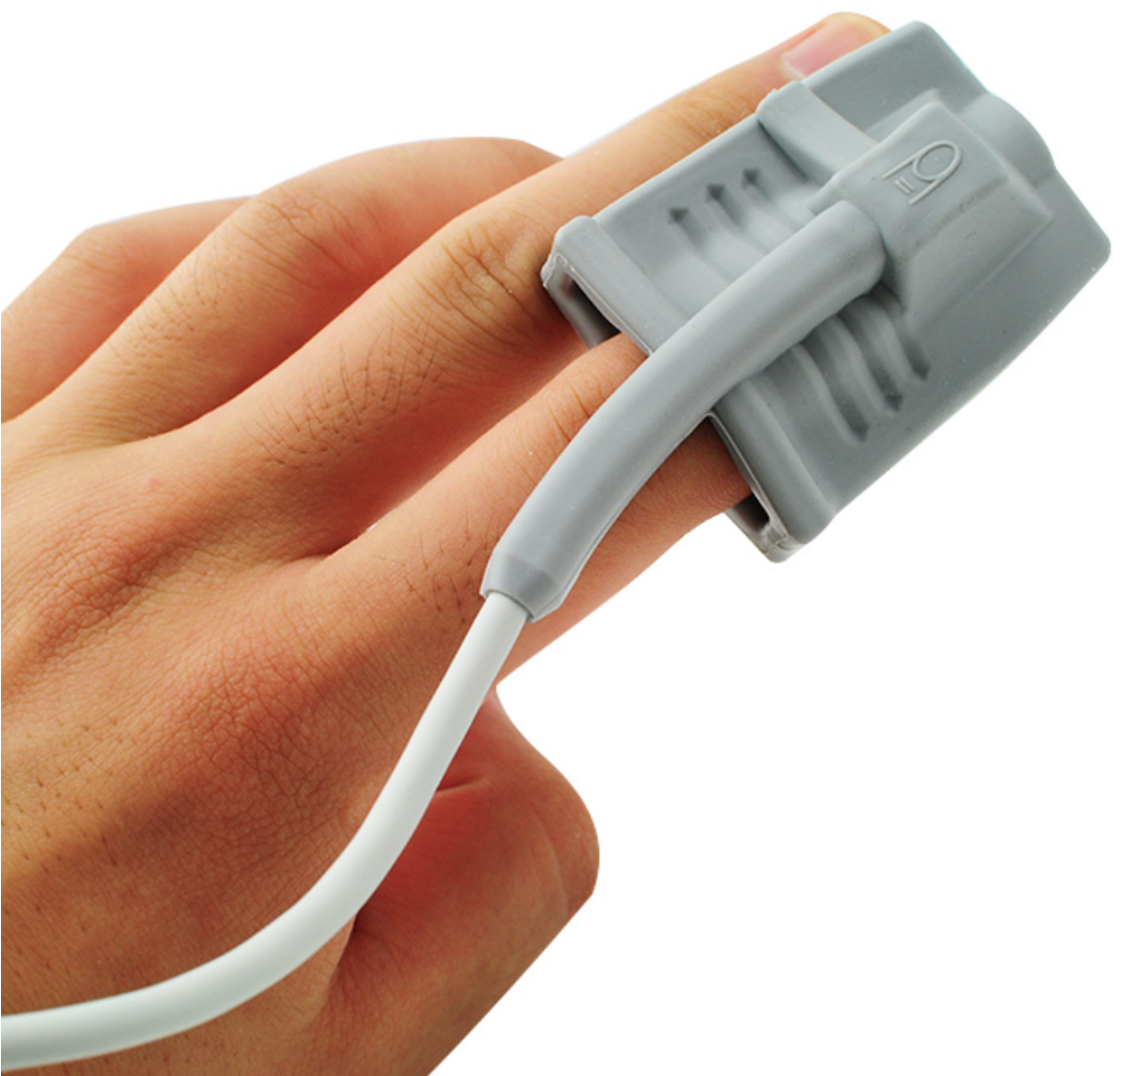
3) After a few seconds, your SpO2 and PR readings will display on the screen of the device
5. How to Start the Recording
Now you are all set to start the recording over time for sleep monitoring.
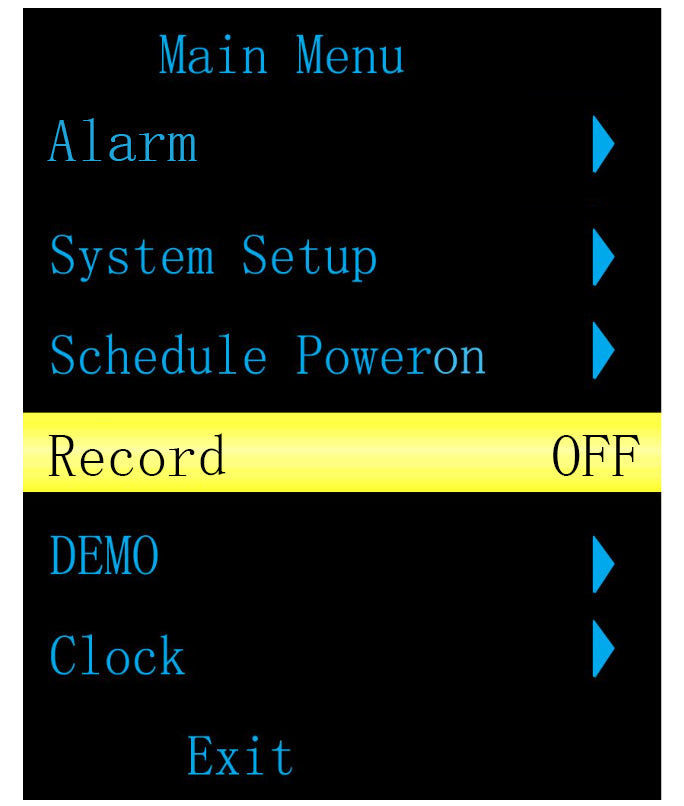

5.1 Long press button “M” to enter Main Menu
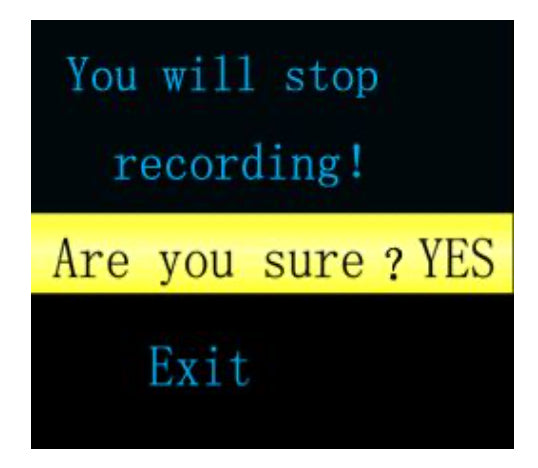
5.2 Select item “Record” and long press button “M”, below message
will then prompt, again long press button”M” to make it “YES”. At last, long press Exit to enter the recording interface
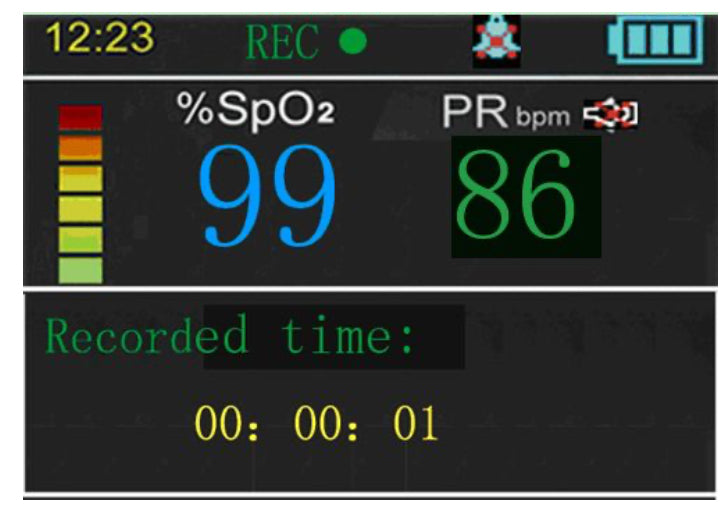
5.3 In the recording interface, the indicator REC dot flashes and recorded time displays.
5.4 To stop the recording, long press button “M”, select “Record” and below message will prompt, choose YES to stop it. The recording will then be saved as one complete session/case in the device.


